-
Making a star
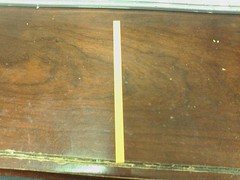
You need to get some star paper, or make your own. If you are using printer paper, cut it into half inch strips.
-
Wrap the top 1/4th around your finger
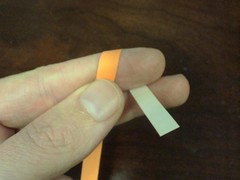
You’re going to be making a perfect knot.
-
Bring the end in front of the “tail”
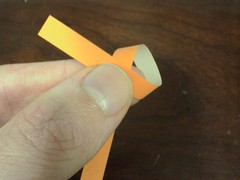
We’re trying to make a very "clean" knot here.
-
Tuck the end in the hole
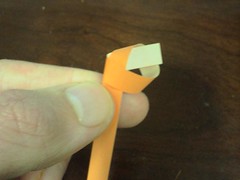
You can see the knot forming.
-
Tightening the knot
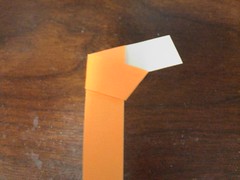
This is, by far, the most important step. You want the tail to be just the right length. Too long, and you can’t wrap the other end around correctly, two short, and you don’t have anything to work with.
Once you have a good length (takes some pratice), you want to make the knot very tight and flat.
-
Bend the flap over
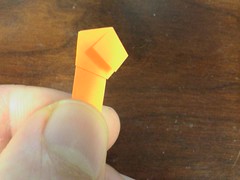
You want to crease it "with" the pentagon. What that means is you want to fold in the right direction.
-
Turn the star over.
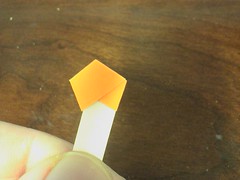
You’ll notice I didn’t tuck the first flap in. Most people do. It doesn’t seem to matter much.
-
Fold the long end up.
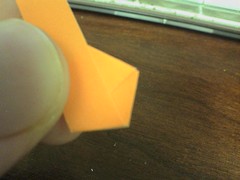
Again, make sure you are going "with" the star. In this case, it’s up and to the left. If you look at the bottom of the pentagon, you see that the angle is "right".
-
Keep folding
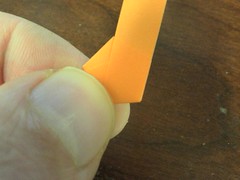
You’re going to keep folding around the star, making sure each time you are going in the right direction. This is the easiest step.
-
Right before you tuck the last bit in.
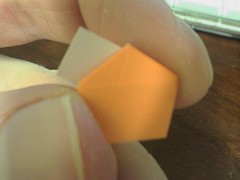
You’re going to tuck that little left over tail into the body of the star.
-
Tucking the flap in
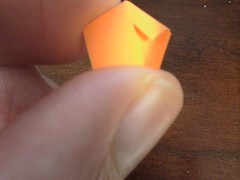
-
Tucked in
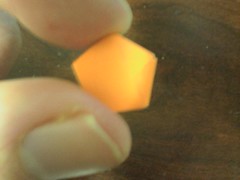
-
“Puffing” it out.
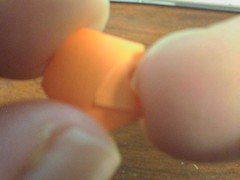
This is one of the hardest steps. Using your nail or a sharp edge, press in, half-way between two points. Make sure you are totally perpindecular to the paper.
-
An Origami Star!
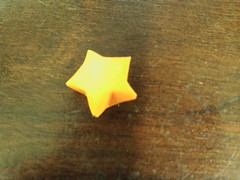
You’re done. Now make 99 more.
Monday, 28 November 2011
How to make an Origami Star
Subscribe to:
Post Comments (Atom)
No comments:
Post a Comment